
A first look at Kinisma Studio
A quick tour of Kinisma Studio's screens (Home, the Studio with its chat, preview and assets, Publish and Settings) with links to each one's guide.
Kinisma Studio has a few screens. Here's what each is for; every one has its own page in the Desktop app section.
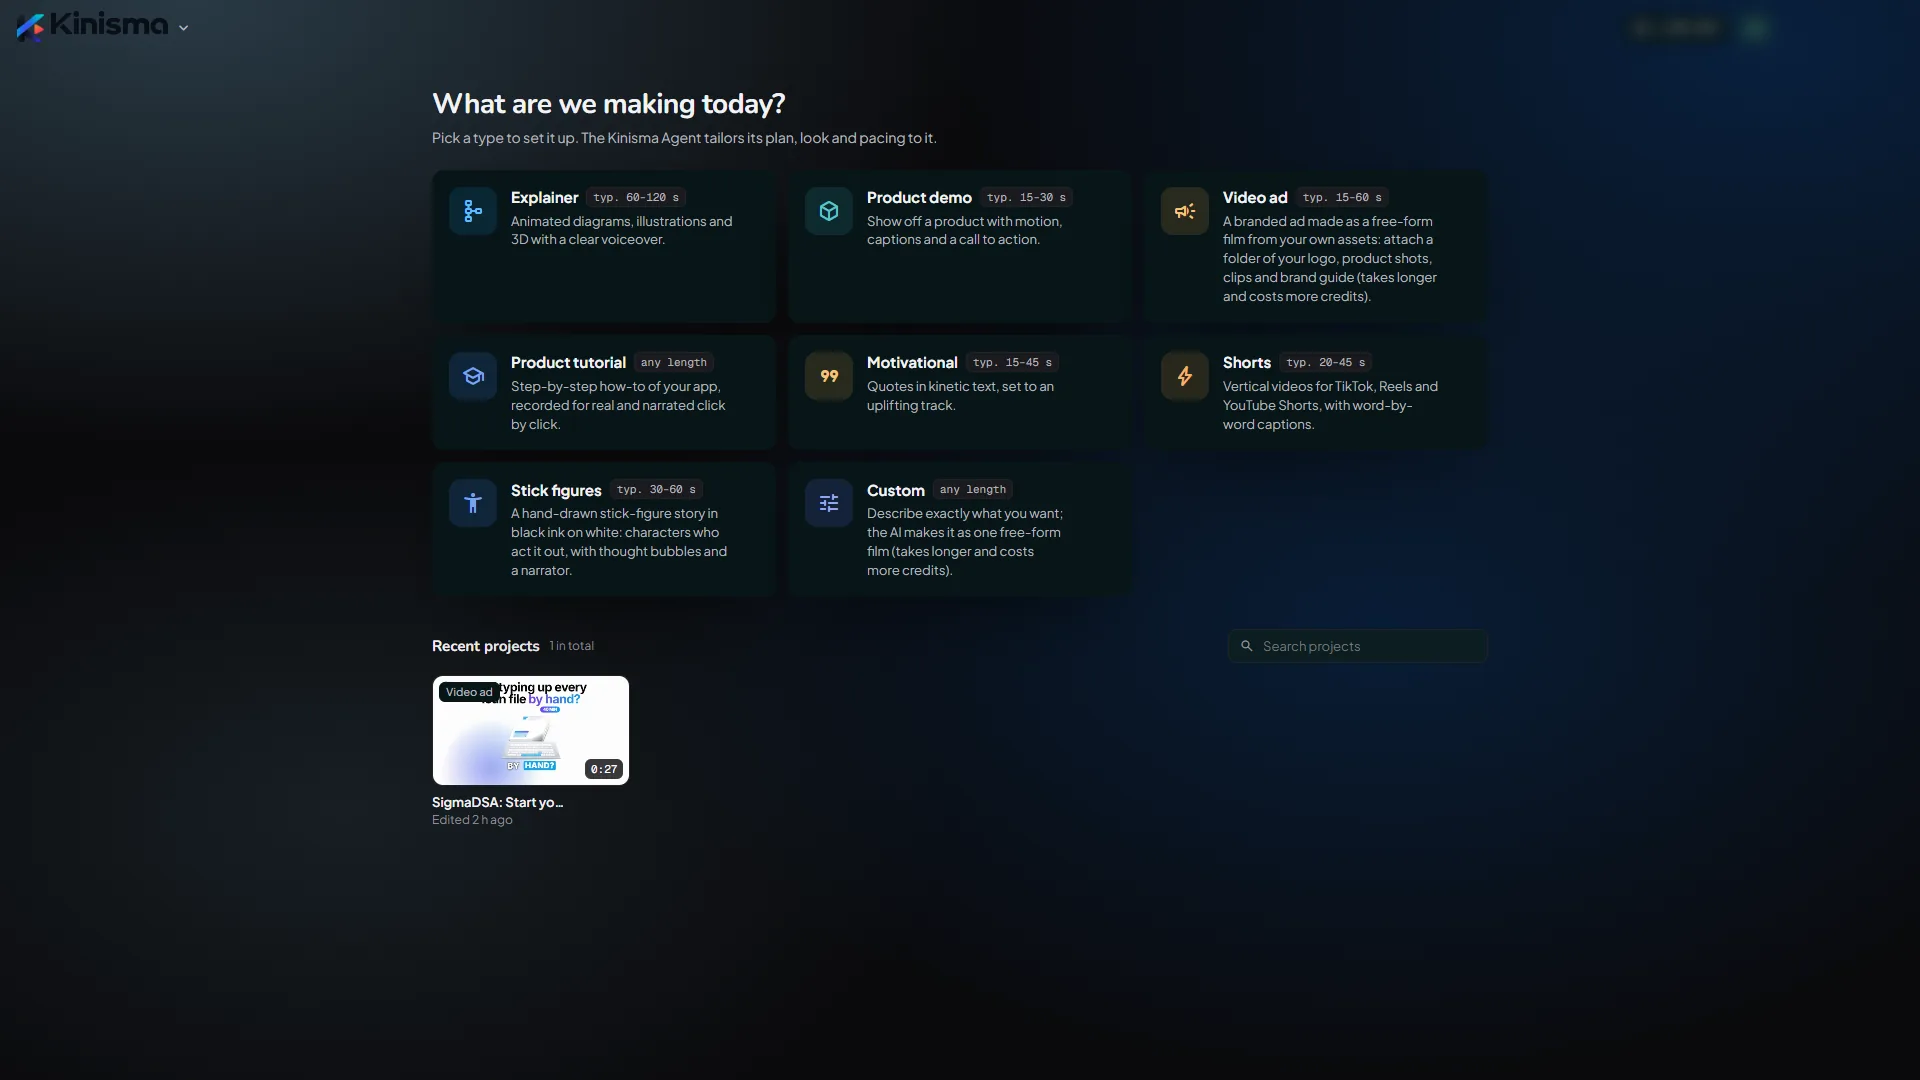
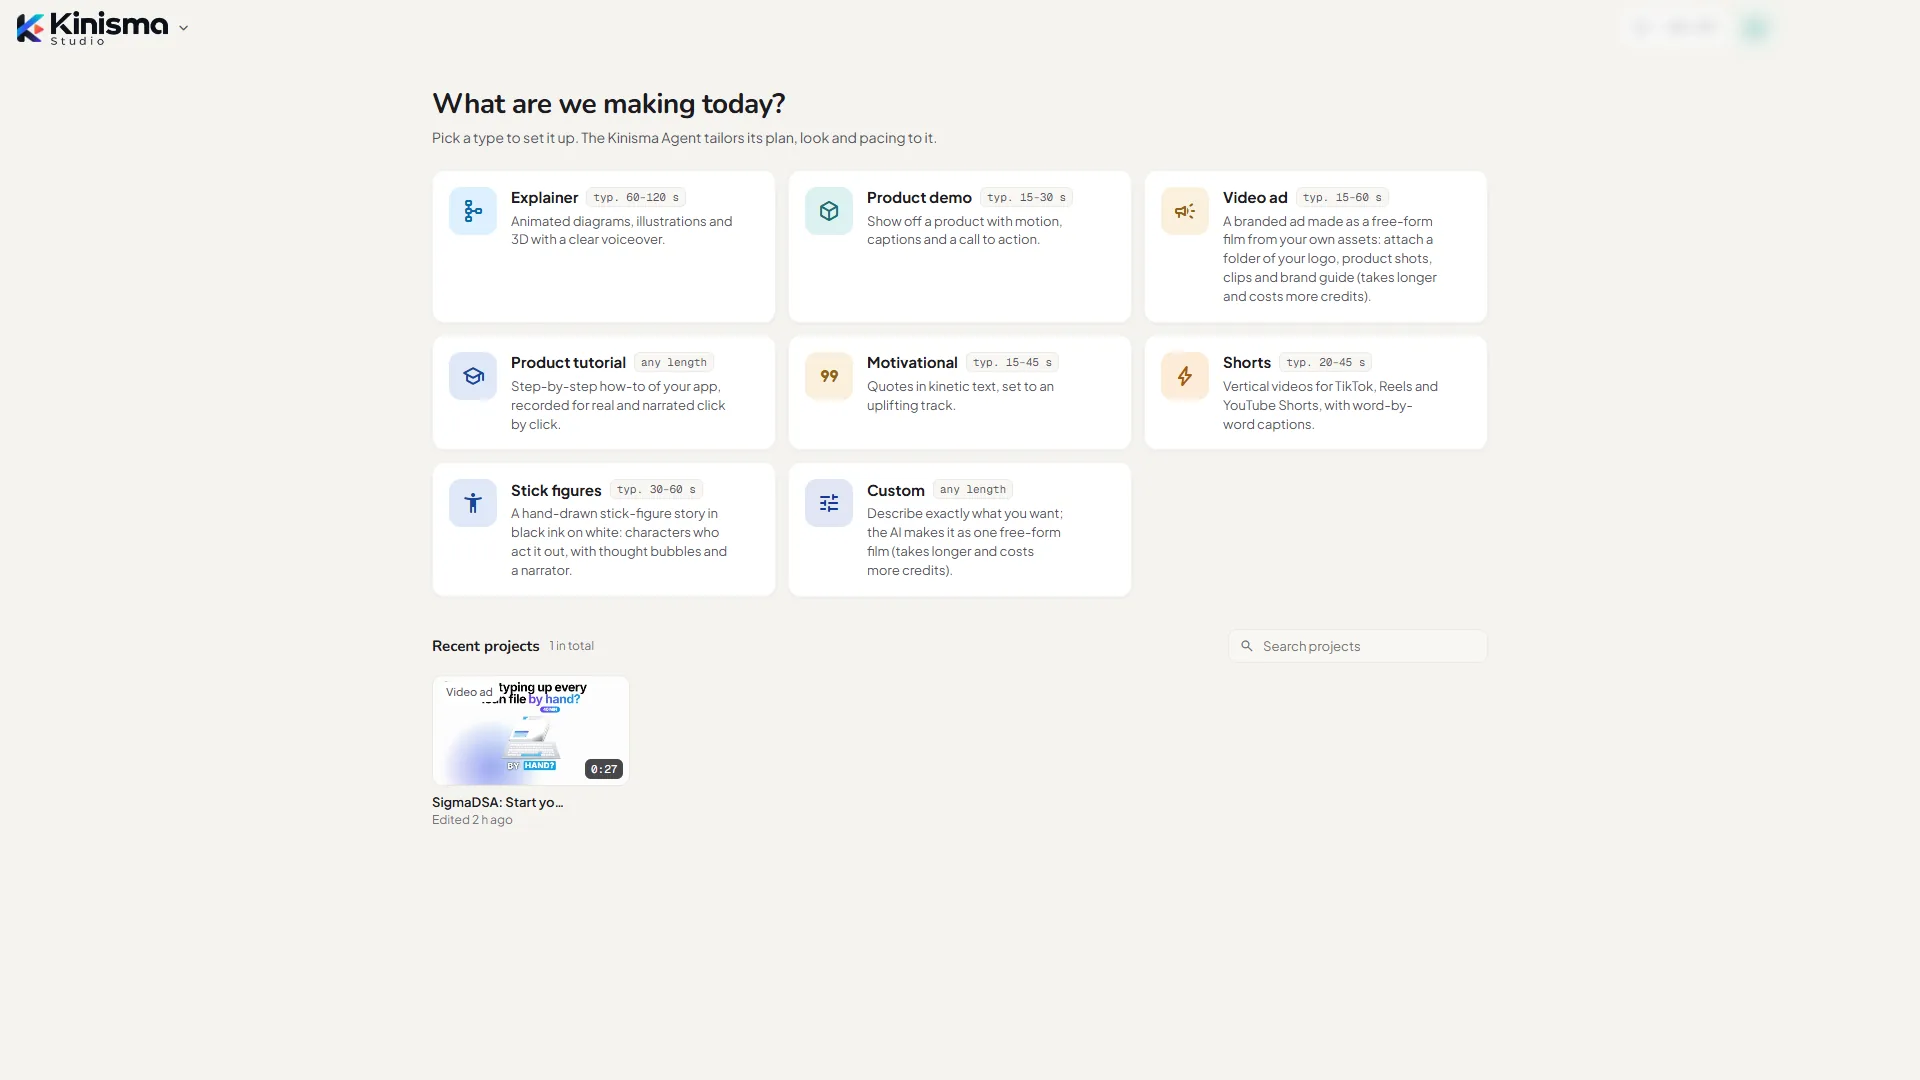
Home
Where every video starts. Pick a video type, find a project, or start from one of your templates. → Home
The New video window
Opens when you pick a type: the look, voice, length, music and aspect ratio for the new video. → New video
The Studio
Where a video is made. It has three parts:
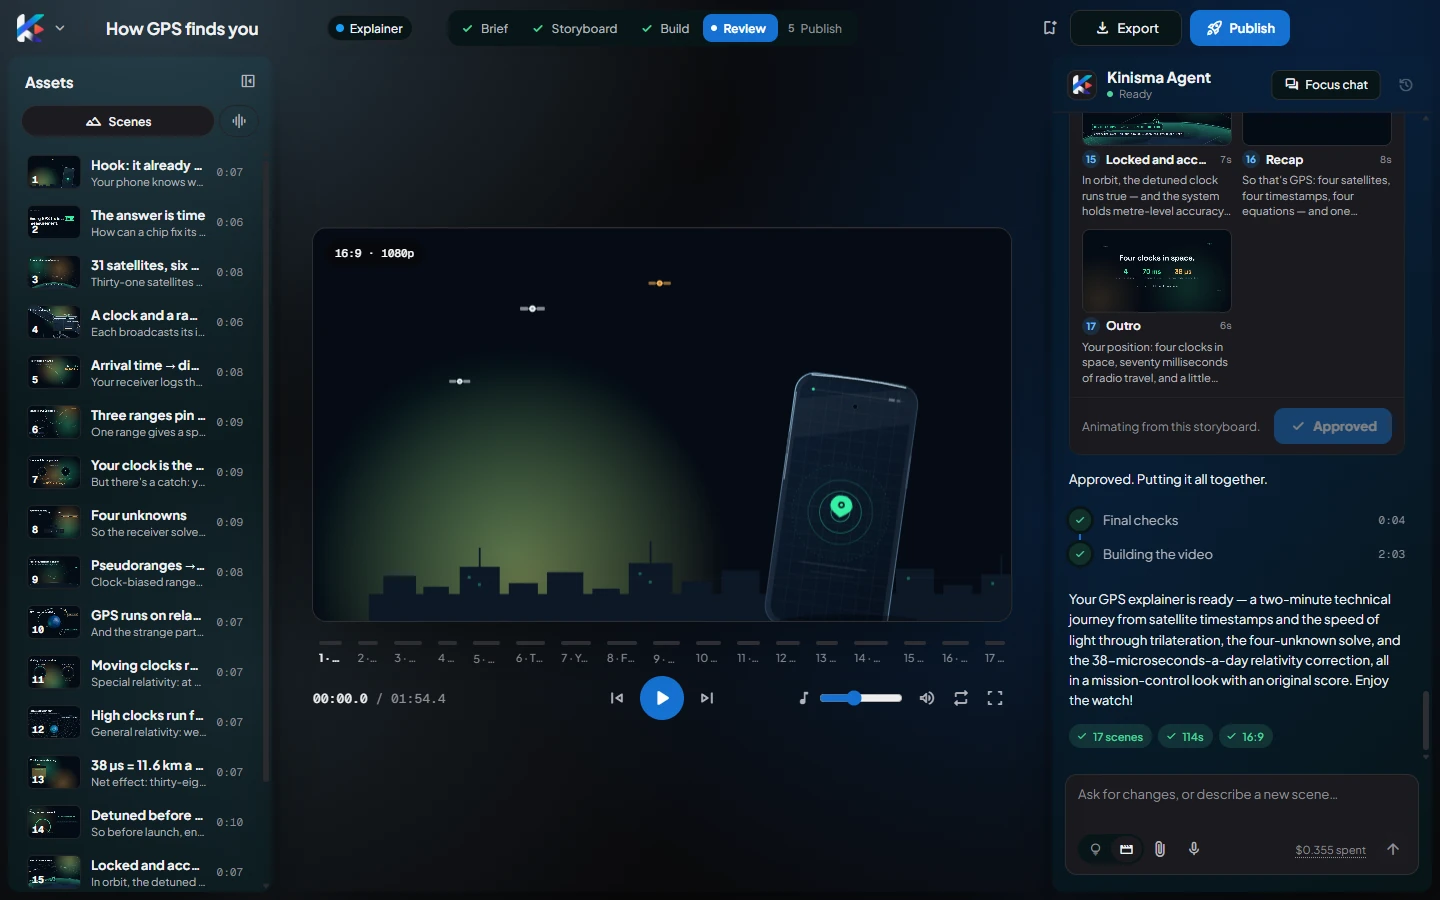
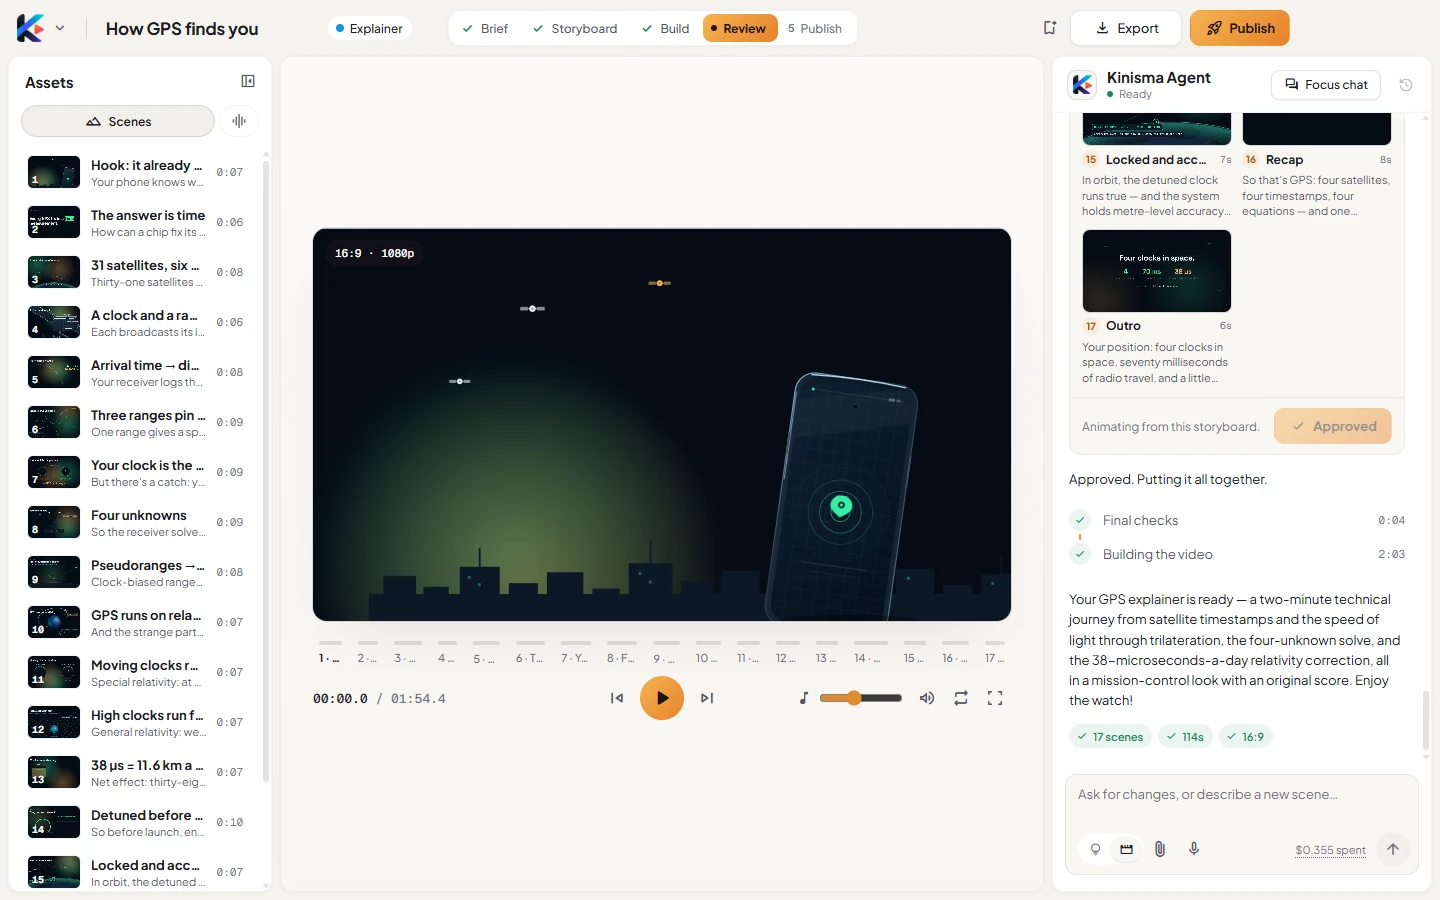
- The agent chat (right): talk to the Kinisma Agent, approve the storyboard and ask for changes. → Agent chat
- The preview (middle): play the video and jump to any scene. → Preview and assets
- Assets (left): the scenes, the narration and the music. → Preview and assets
Along the top, the steps show where the video is: Brief → Storyboard → Build → Review → Publish. → The Studio
Publish
Titles, descriptions, tags and thumbnails for YouTube, Instagram and TikTok, written by the agent from your video. → Publish
Settings
Your AI model and keys, video profiles, where projects are stored, exports and your account. Open it with Ctrl ,. → Settings
Menus
The Kinisma logo (top left) opens the main menu: new video, all projects, recent projects, appearance (light, dark or auto) and settings. Your avatar (top right) opens your account and plan. → Menus and shortcuts
Was this article helpful?